Mailcow is self-hosted email software and my preferred mail platform for pentest phishing. In the past I’ve used commercial platforms like Mailgun or SendGrid and had success, but I’ve also seen things go south with these types of services in the middle of an engagement. For a slight bit of setup time, Mailcow offers you just about the same features and increased flexibility in terms of number of inboxes/domains, that usually cost money to scale up with a commercial service.
Deploying a New Server
The first thing to do is provision a new server with your hosting provider. The server I’ll be setting up is an Ubuntu 21.10 image hosted on Vultr. My deployment has 1 GB of RAM and 32 GB of disk space, which costs $6/month. Before we go about setting up Mailcow, check if your IP is on any of the blacklists tracked by MxToolBox. With some providers, your IP may appear in several blacklists, which may hurt your ability to get emails past spam filters (never had this happen with Vultr, one of the reasons I chose them for hosting).
After your server gets provisioned, you’ll want to setup reverse DNS - if you don’t it can hurt your spamminess rating later. In Vultr, this can be found by clicking on your new server and going to Settings. Set this to the DNS name your server will have (i.e. mail.domain.com)

For other hosting providers this process differs. I believe with Digital Ocean, reverse DNS is configured based on the droplets hostname.
Installing Mailcow
Mailcow has a great set of instructions here. I’d still recommend reading that, but the commands I used to setup my server are below:
curl -sSL https://get.docker.com/ | CHANNEL=stable sh
curl -L https://github.com/docker/compose/releases/download/$(curl -Ls https://www.servercow.de/docker-compose/latest.php)/docker-compose-$(uname -s)-$(uname -m) > /usr/local/bin/docker-compose
chmod +x /usr/local/bin/docker-compose
umask # you should be root, ensure the output is 0022
cd /opt
git clone https://github.com/mailcow/mailcow-dockerized.git
cd mailcow-dockerized
./generate_config.sh # enter the dns name of your host (i.e. mail.domain.com, blank for timezone and n for ClamAV
vim mailcow.conf # make any edits before starting
docker-compose pull
docker-compose up -d
At this point, you should be able to reach the web interface by browsing to your Mailcow server over HTTP or HTTPS.

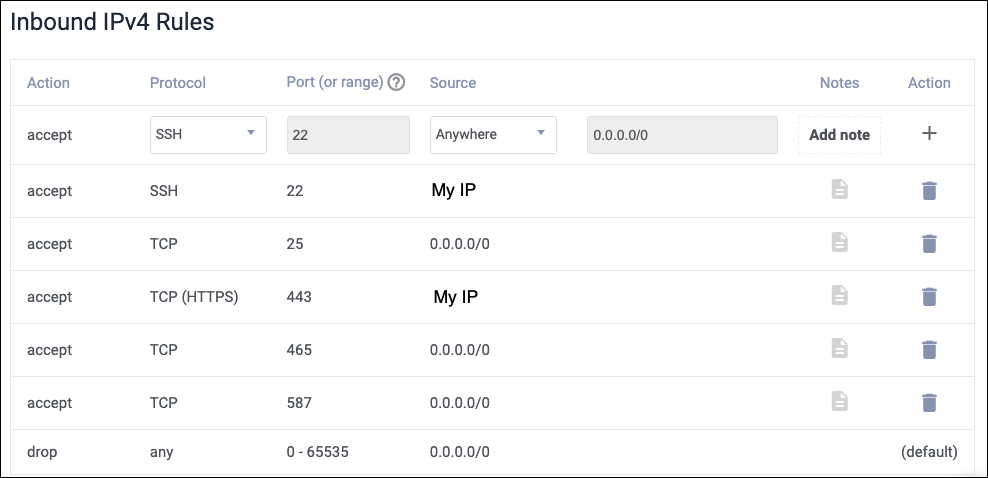
I usually firewall off port 80 so it’s unreachable and only allow HTTPS to required IPs. Here’s my full firewall setup:
Setting Up Your First Mailbox and Domain
The default credentials are admin and moohoo. First thing to do is login and change them, and potentially setup user accounts and/or 2FA. Once that’s done you can go add any domains you’ll be sending email with by going to Configuration > Mail Setup. There are 2 Configuration drop-downs with different options, so this can be a little confusing at first.

It should drop you on the Domains tab where you can click Add a domain. Once you’ve typed your domain name scroll down and make sure to select Add domain and restart SOGo.

With a domain added, it’s time to generate your DKIM key and get DMARC/DKIM/SPF records prepped. Get back to the configuaration page you started on by going to Configuration > Configuration & Details.

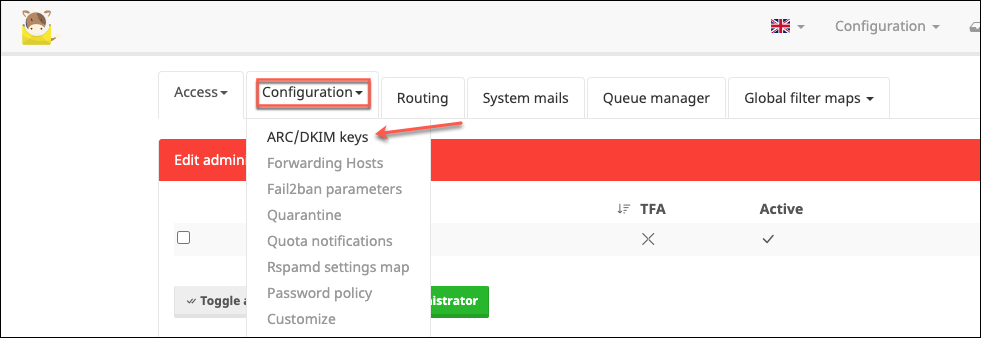
Then the other configuration drop-down, Configuration > ARC/DKIM keys.
Your newly added domain may already have a DKIM key added here, as mine did:

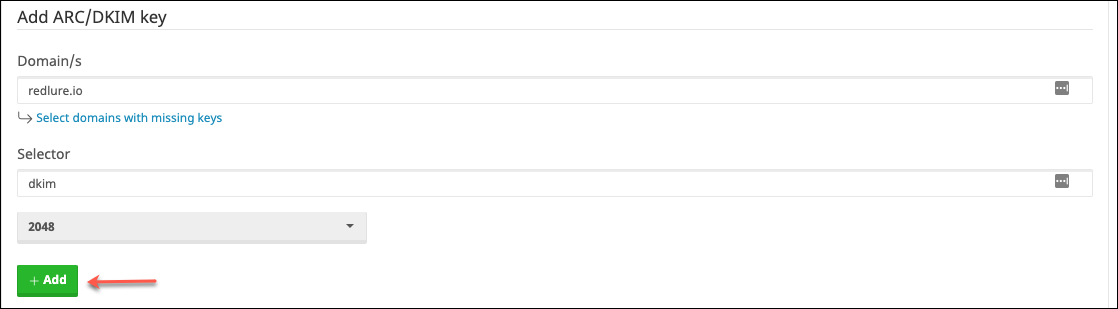
If not, add one by typing the domain, selector and choosing a key length, then clicking add:
Last step before we setup and test our first inbox is to add the MX and TXT DNS records to your domain. Here’s an example of the 3 TXT records you’ll want:

# Example record values
# DKIM - copy the value from mailcow

# DMARC
v=DMARC1; p=quarantine

# SPF
v=spf1 ip4:X.X.X.X -all
Adding and Testing a Mailbox
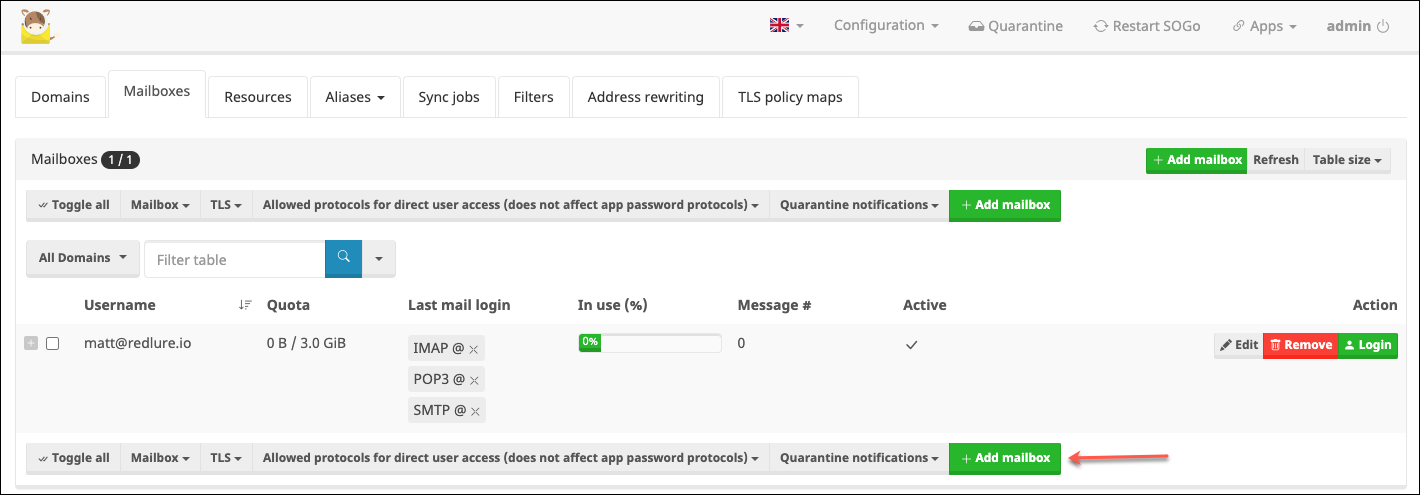
Head back to the mail setup page like we did after logging in and click the Mailboxes tab. Click Add mailbox and choose a username/password for the new mailbox.
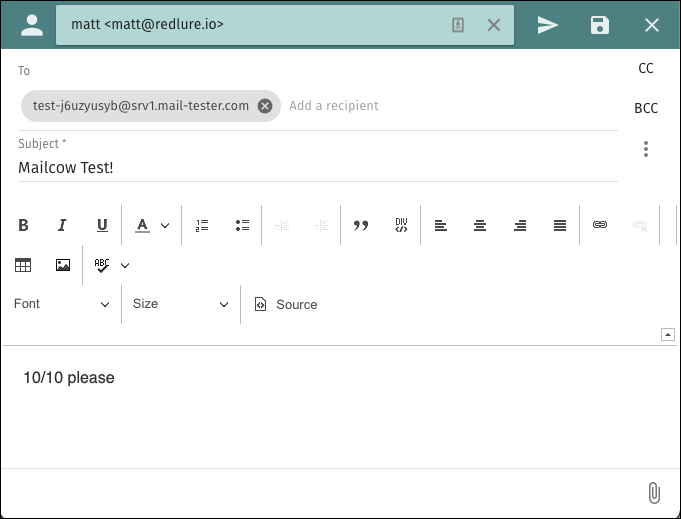
You’re all ready to send emails at this point. Mailcow includes an email client called SOGo. It’s pretty barebones, but it’s sufficient for sending a few test emails if you don’t have a phishing platform to hookup to Mailcow yet. Head to Apps > SOGo where you’ll be presented with a login form you can login to with your new mailbox credentials:


After all the setup we’ve done to this point, let’s just ensure we get a good spam rating on mail-tester.com. Grab an address to send to from mail-tester and shoot over a test email. Again you could configure your phishing platform to send via your mailcow server to do this (authenticate to Mailcow on port 587 using TLS), if you’ve got it ready.
And voila! You’re ready to send some phishing emails though your Mailcow server! If you didn’t get 10/10 from mail-tester, click through the drop-down details to figure out the hang-up affecting your spam score.
